Interviews
Scheduling an Interview
From your application, you can schedule an interview with the candidate. Click on the “Schedule Interview” button to get started. You can choose a date and time for the interview.
Once the interview is created, it’s up to you to create topics!
Creating Interview Topics
Click on “Compose Topics” to start creating topics.
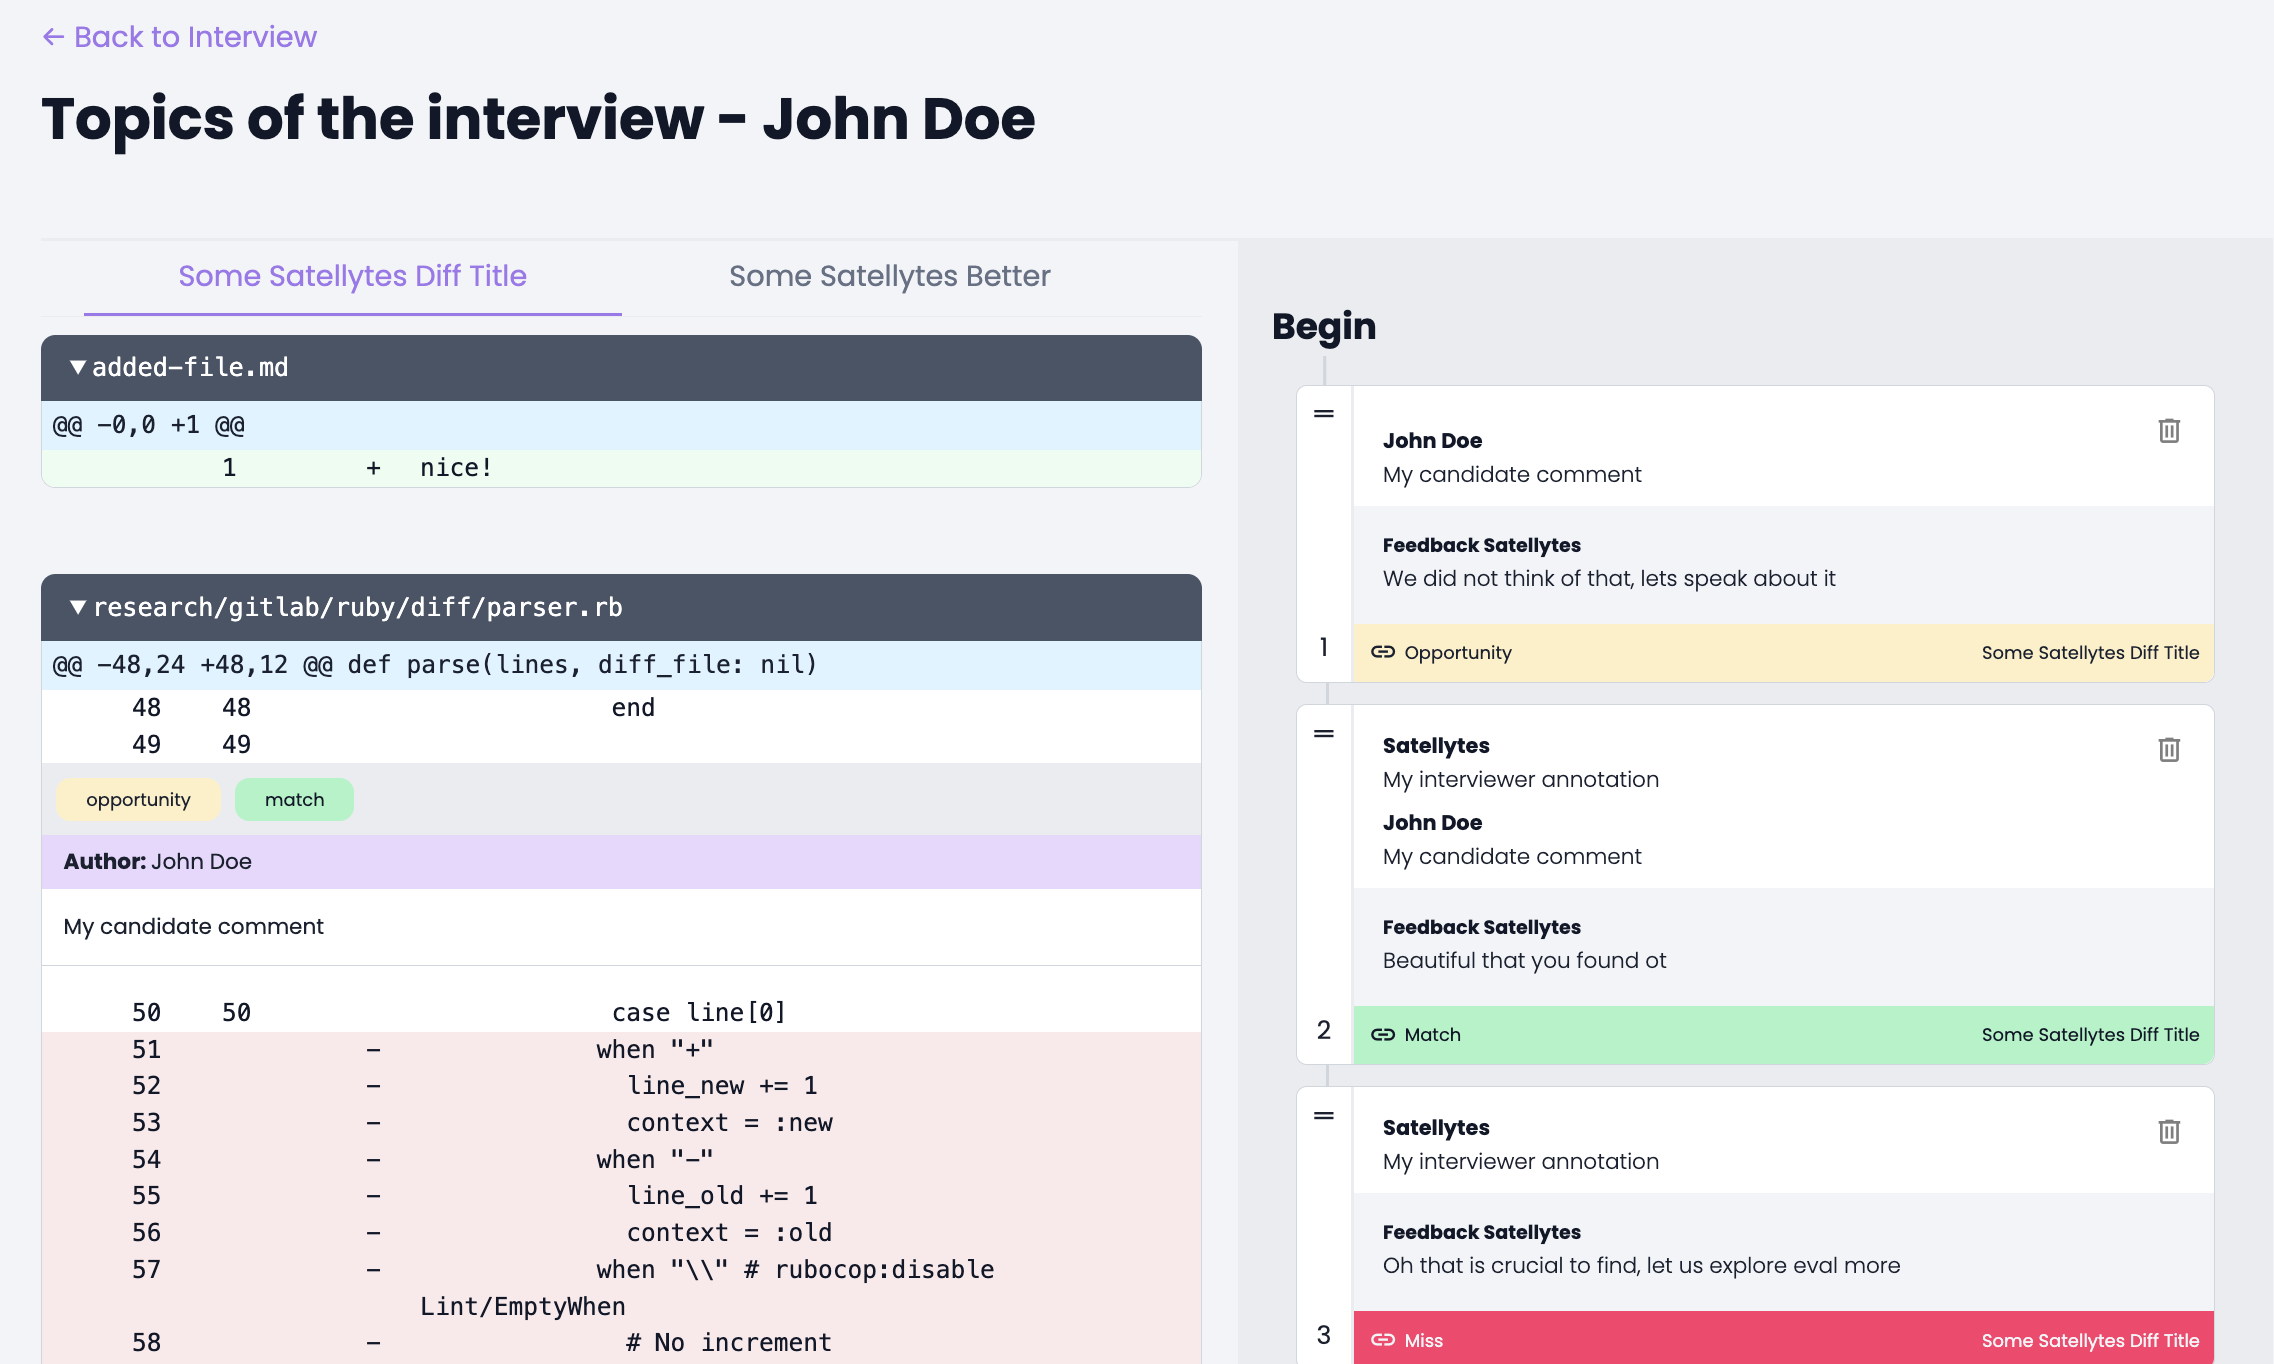
A topic is a discussion point in the interview. There are three main types of topics:
- The “Match”: The candidate’s review comment matches the internal comment, which means that both the candidate and the interviewer agree on the point in the code. Great! Click on “Match” on either the internal comment or the candidates comment to start matching. Once you select both matching comments, you can add some notes for the interview.
- The “Miss”: There was a glaring problem in the code, but the candidate didn’t find it? Mark it as a miss and add some notes for the interview.
- The “Opportunity”: If the candidate added their thoughts to a piece of code that you didn’t think of, mark it as an opportunity. This is a great way to see how the candidate thinks and can lead to interesting discussions.
All the topics will be saved. You can order them by dragging and dropping them in the list.
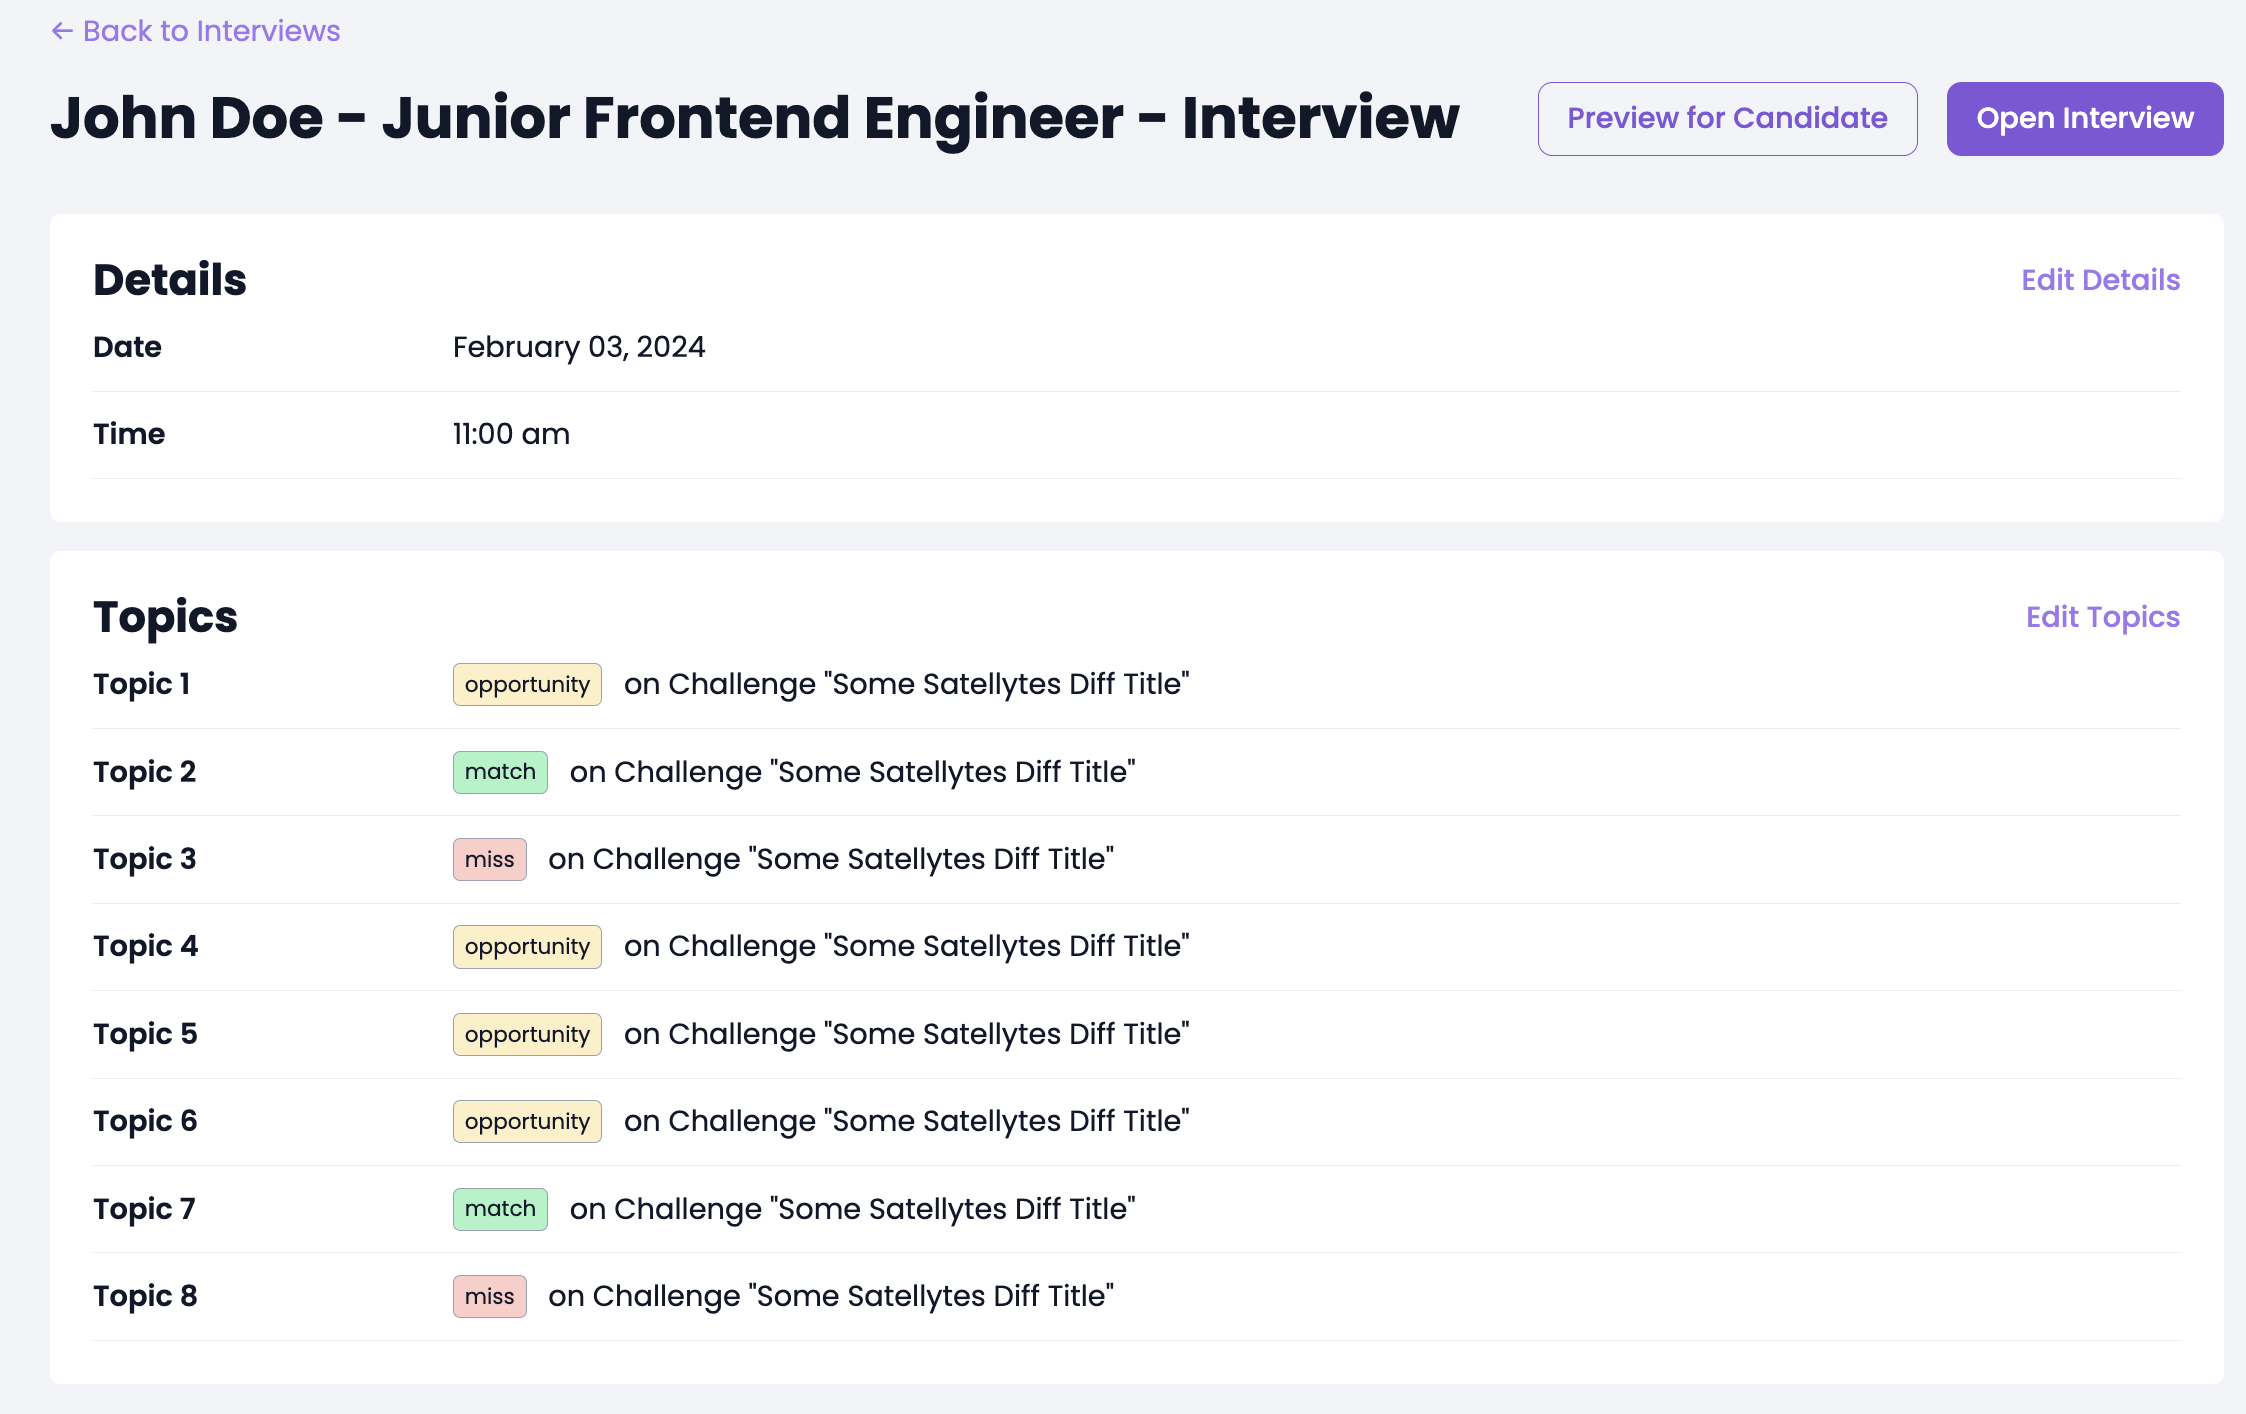
Conducting the Interview
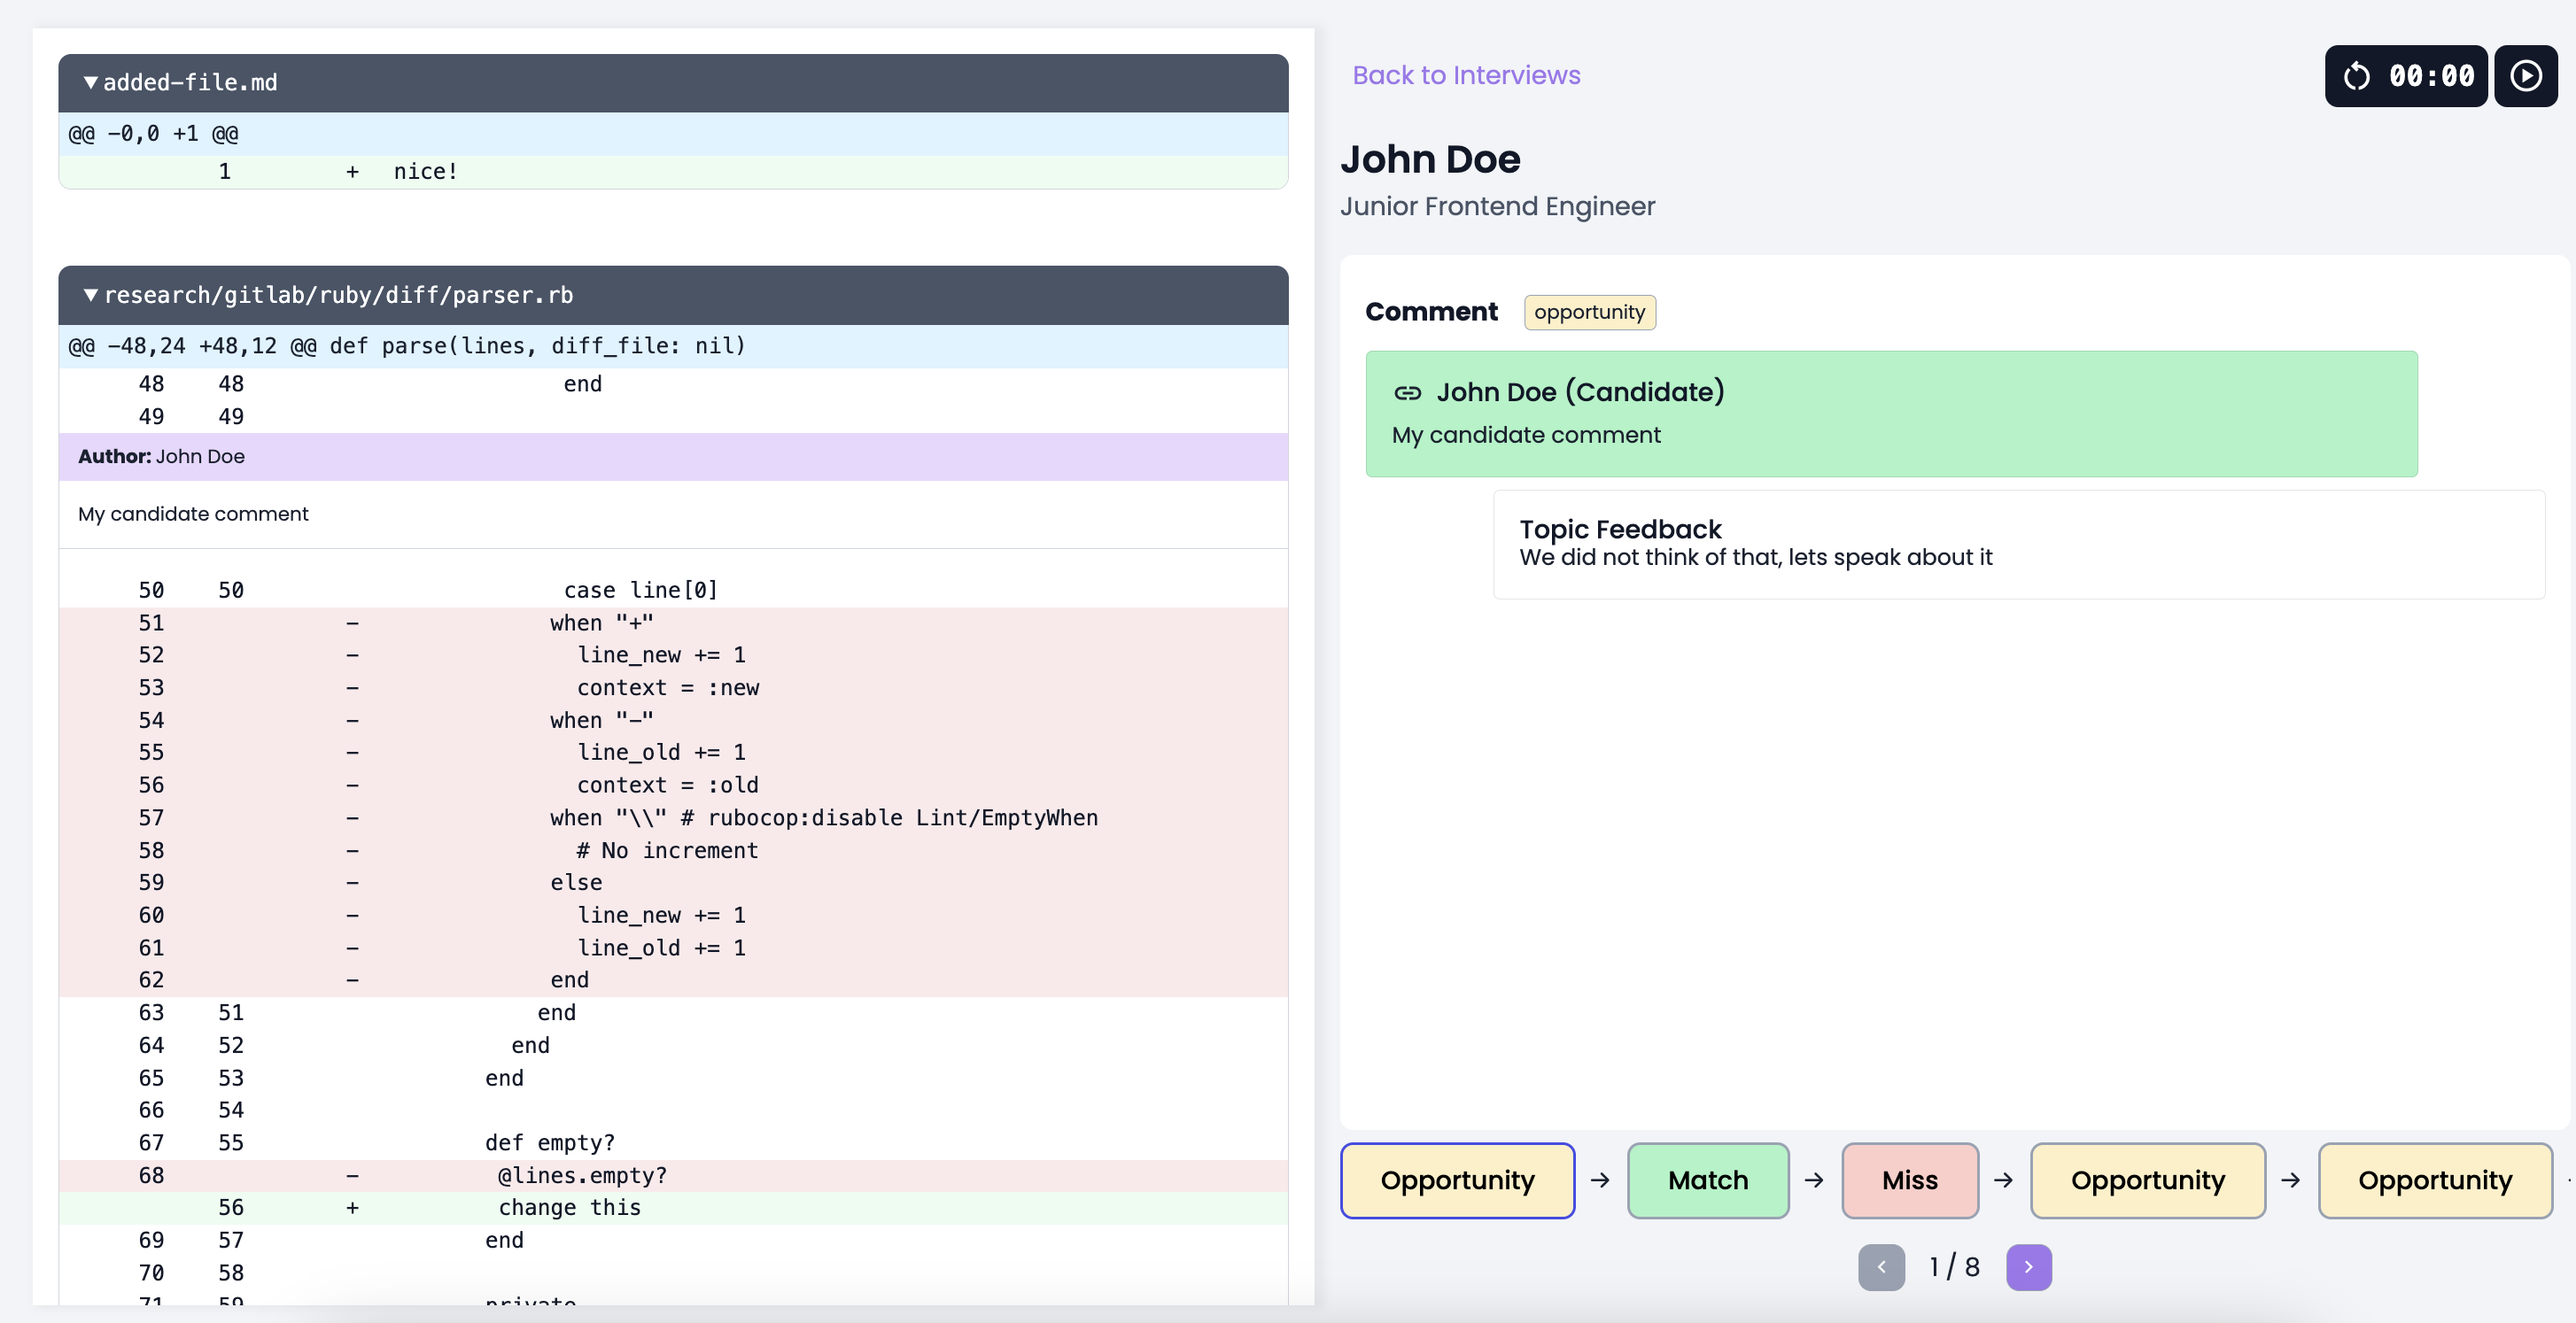
When the interview starts, you can access the topics from the interview page. Click on “Open Interview” to begin. Conducting an interview is relatively easy. The screen is split in half - the left side shows the code and the right side shows the internal comments, the candidates review, and any additional topic feedback. Navigate the topics by clicking on the colored cards or use the arrow keys.
You can also use the small timer widget to keep track of time that has elapsed.
Going through the interview should automatically sync the screen you see to what the candidate sees. They will only see the code and their review comments, not the internal comments or the topics.